Hex × Snowflakeでつくるインタラクティブな分析環境
こんにちは、データエンジニア部の向井です。
6月下旬にラスベガスで行われたSnowflake Summit 2023では様々な機能が発表され大興奮の1週間でしたね。今回はその中で気になったHexについてご紹介します!
環境準備
Hexは現在Saasとして提供されており、以下からアカウント作成が行えます。Community版は無料です。
https://hex.tech/
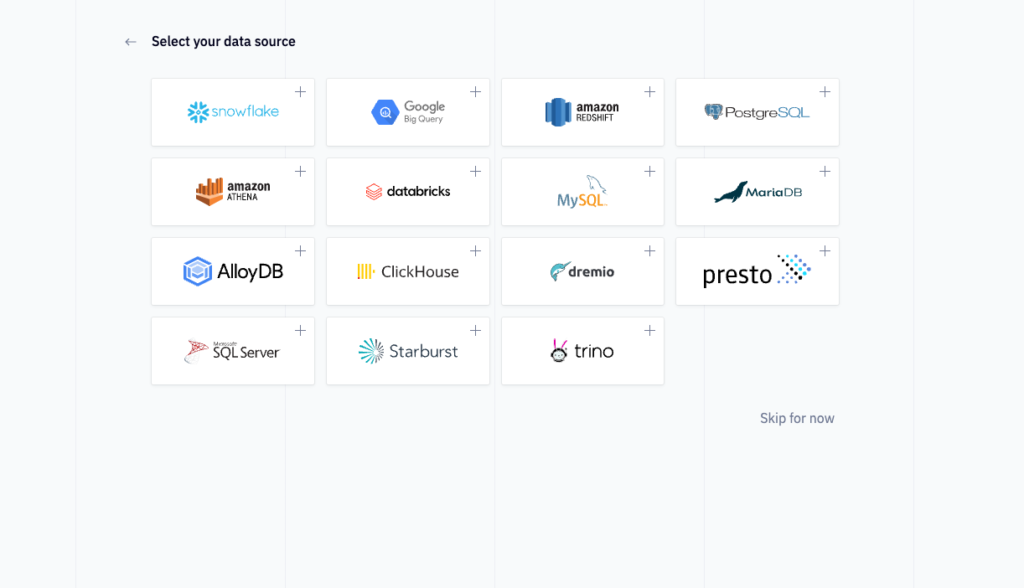
接続先設定の画面からSnowflakeを選択します。
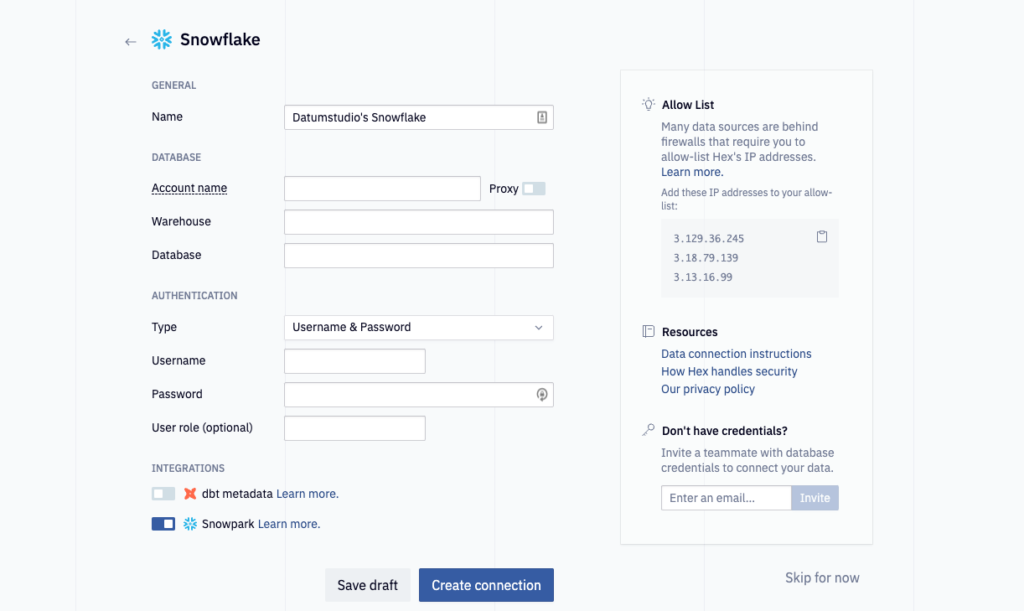
接続情報を入力します。
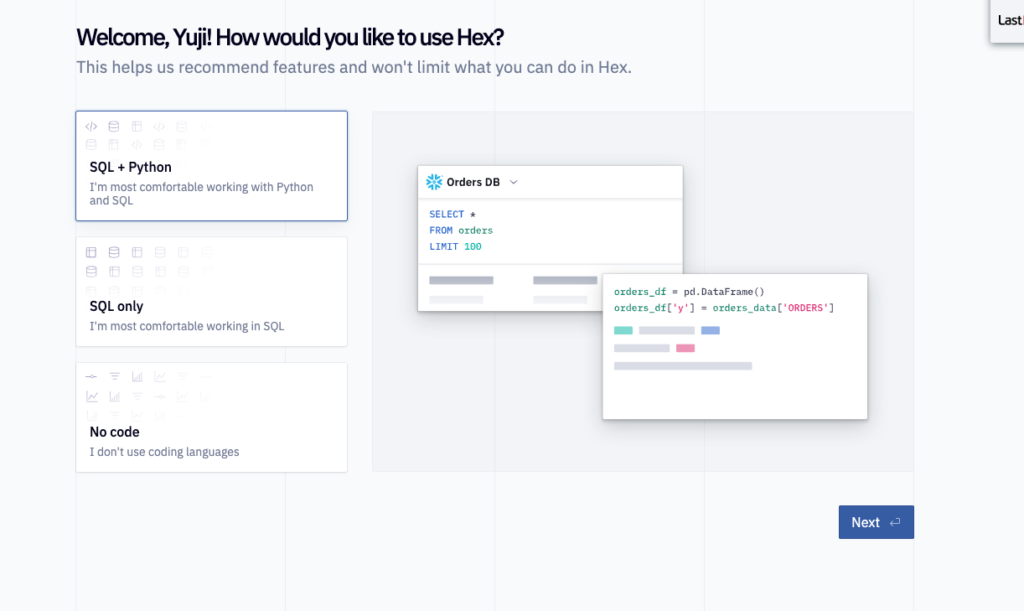
環境はSQL+Pythonを指定します。
こちらで準備完了です!
データ準備
Hex上でcsvを取り込むこともできますが、Snowflake上にデータを置いておきたいので以下を参考にSnowsightのUI上からStageにデータを配置しましょう。
https://docs.snowflake.com/user-guide/data-load-local-file-system-stage-ui
SnowflakeのUIへ移動します。
適当なデータベースとStageを作成します。
create or replace database test_db;
create or replace stage test_db.public.test_stage
  file_format = (type = 'csv');
Data > DatabasesのタブからStageに移動し、Directory Tableを作成します。

作成後は右上のFilesから適当なファイルを追加しましょう。今回は前回の記事で使ったscikit-learnのワインデータセットを使用します。csvは以下から入手可能です。
https://archive.ics.uci.edu/ml/machine-learning-databases/wine/wine.data
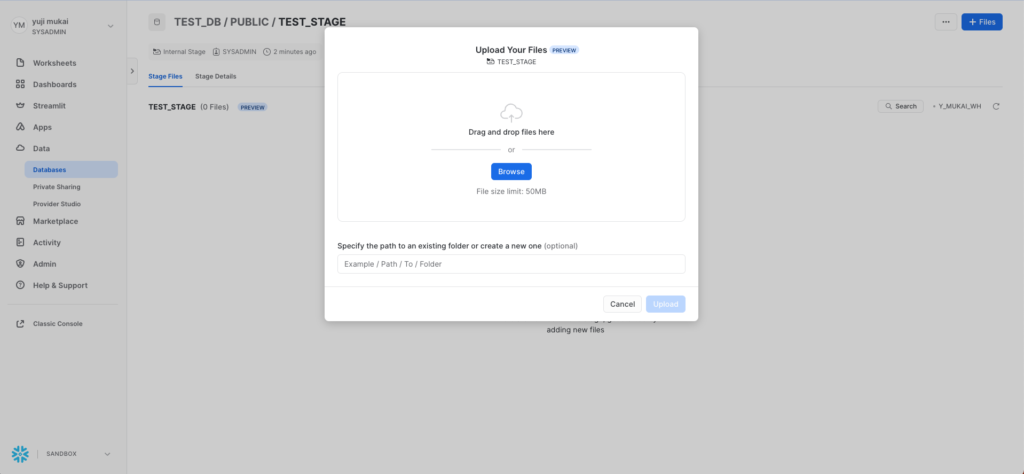
Stageにファイルが表示されれば準備完了です!
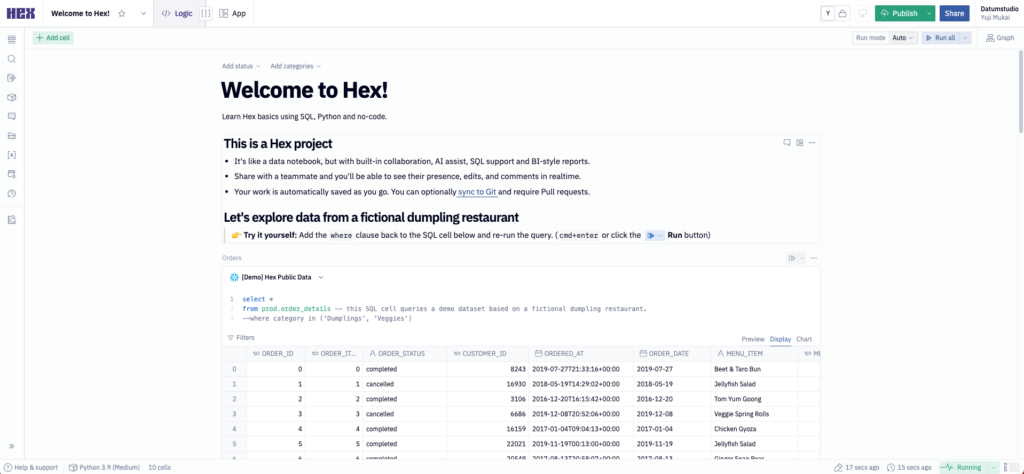
Hexでの表示
Hexでの画面に戻り、データをSnowparkでみてみます。
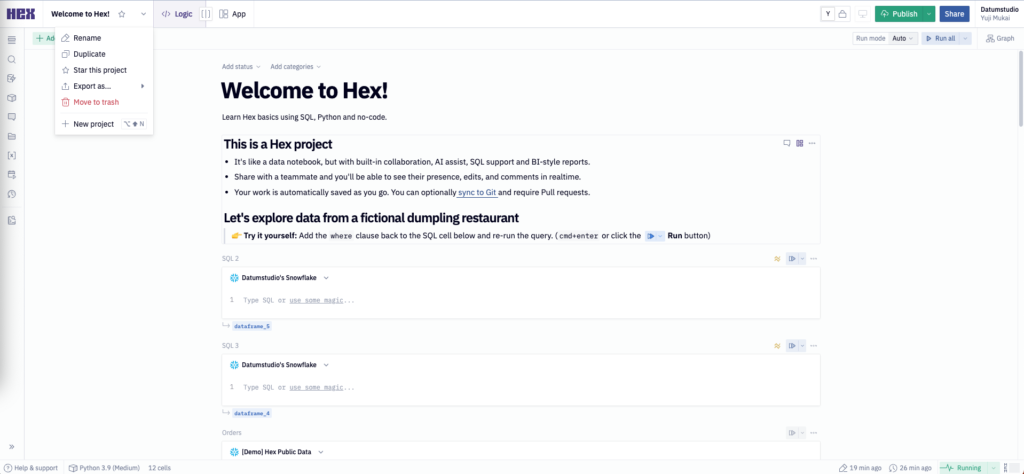
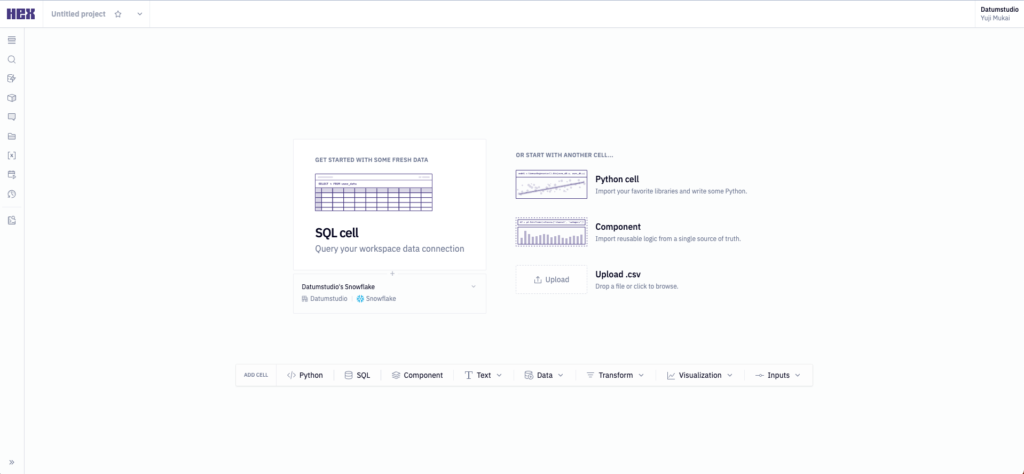
左上のタブからNew Projectを選択し、Python Cellを選択します。
以下のように入力すると、Hex上でSnowparkのsessionを定義することができます。
import hextoolkit
hex_snowflake_conn = hextoolkit.get_data_connection('Datumstudio\'s Snowflake')
session = hex_snowflake_conn.get_snowpark_session()
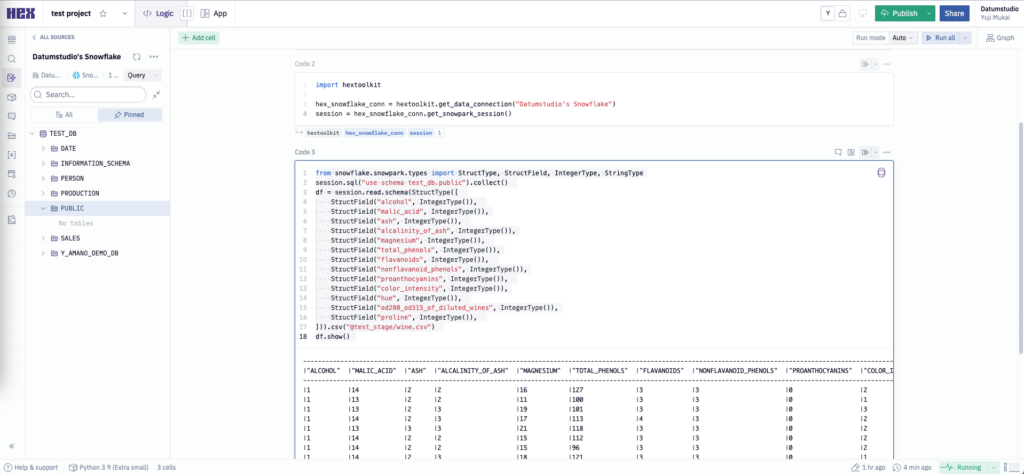
Snowparkでは、スキーマ定義をしてあげるとcsvの読み込みができるようになります。
from snowflake.snowpark.types import StructType, StructField, IntegerType, StringType
session.sql("use schema test_db.public").collect()
df = session.read.schema(StructType([
    StructField("alcohol", IntegerType()),
    StructField("malic_acid", IntegerType()),
    StructField("ash", IntegerType()),
    StructField("alcalinity_of_ash", IntegerType()),
    StructField("magnesium", IntegerType()),
    StructField("total_phenols", IntegerType()),
    StructField("flavanoids", IntegerType()),
    StructField("nonflavanoid_phenols", IntegerType()),
    StructField("proanthocyanins", IntegerType()),
    StructField("color_intensity", IntegerType()),
    StructField("hue", IntegerType()),
    StructField("od280_od315_of_diluted_wines", IntegerType()),
    StructField("proline", IntegerType()),
])).csv("@test_stage/wine.csv")
df.show()
これを実行すると、ちゃんとSnowparkのDataframeとして読み込みができていることがわかります。
ここまで来ると、あとはpandasやSnowparkのAPIを使えば自由に分析や推論をすることが可能です。
今後のリリース
Snowflakeの話題からは外れてしまうので紹介は省きますが、Hexは視覚化をリッチに行うことができ、レポーティングの機能も豊富で非常に自由度の高い分析を行うことができると感じました。toPandasをしてしまうとデータがSnowflakeからHexのサーバーへ移ってしまい、Snowflakeの豊富な計算リソースが使えなくなることが唯一の懸念でしたが、先日のSnowflake Summit 2023でついにSnowpark Container Serviceでのデプロイが発表されました!
Snowflake上でマネージドなnotebookが動かせるようになると、サイエンティストも含めたもっとたくさんの人々に利用されるようになるのではないかと思います。
HexのSnowpark Container Serviceは現在Private Previewの申し込みを受け付けています。これまでローカルでNotebookで分析をしていた方も、この機会にHex × Snowflakeの組み合わせに乗り換えてみてはいかがでしょうか?
https://hex.tech/product/integrations/snowpark-container-services/
このページをシェアする: